Sunday, October 25, 2020

Turning Packaging into a Party

With COVID dragging on, birthdays are a bit different, without restaurant gatherings or other public activities, so I was seeking a way to make make my mom's celebration a little more festive. Fortunately, I've been doing enough online thrifting through COVID that I have tons of cardboard and pretty tissue lying around from my deliveries. (Thanks, thredUP!)

With the cardboard and tissue, I decided my mom's gifts should all be "wrapped" in a piñata, shaped like a decadent birthday cake, of course. 

What you will need: 

  • cardboard
  • tissue paper
  • box cutter and/or good scissors
  • strong tape - I like gaffer's, but shipping tape would also work
  • hot glue gun (optional)
  • Elmer's/craft glue
  • embellishments
  • a ribbon or strong string

Here's how I did it:

1) Lay out the cardboard flat, and cut out the bottom of the cake. I used a round platter to trace around.

2) My circle had some of the box folds in it, so I hot glued on some strips of cardboard to add stability.

3) Attach the sides of the cake to the bottom, using a sturdy tape. It's just one long strip of cardboard, as wide as how tall you want the first layer of cake to be, and as long as the circumference of your base. Then add a top to your first layer. You will use the same platter to trace the outside as you used for the base, and cut a second circle in the middle to resemble a donut. This will allow your gift and candy chamber to connect between bottom and top layers of the cake.

4) Get a helper for the second layer of the cake. I highly recommend a tabby cat. He will inspect your measurements for cutting out the top for the top layer of cake.


5) Attach the sides of the top layer of cake to the bottom layer, using a sturdy tape. Same as with step 3, it's just a long strip of cardboard, as wide as how tall you want the layer of cake to be, and as long as the circumference of the opening on the first layer. Next, secure the top. When you are cutting to hole out of the middle, leave a few inches uncut. The inner circle of cardboard becomes the "lid" of the piñata, allowing you to open to fill the piñata and then close.

Note how the hole in the top of the first layer creates an open chamber between the two layers.

6) Now we are ready to decorate the cardboard structure. thredUP uses this festive teal polka dot tissue in each of their packages - fun! I'm cutting it into log strips, about 2-3" wide, which I'll wrap in layers around the cardboard. I'm cutting fringe about halfway up for that piñata fringed/textured look.

7) Glue with your craft glue, starting at the bottom, and working your way up. No hot glue for this step! The tissue is too thin, and you'll burn yourself.


8) Embellish: you'll see some details in the final picture: I added strips of ribbon on each layer of cake, cut from a foil liner from a floral arrangement. And I cut "candles" out of some multicolored striped paper wrappers.

9) Add a loop of ribbon to the inside of the top layer of the cake. This step I didn't do perfectly. I secured it with hot glue, which didn't with standing the hitting of the piñata (see the video below!). Next time, I will be securing with a stapler. This ribbon is to hang your piñata from.

10) Fill your piñata with small gifts and candies.

11) Secure the lid with a few strips of tape. The hanging ribbon should be coming out from either side of the lid.


12) Your birthday cake piñata is now finished and ready for the party!

Here are the final results. As noted above, the hot glued ribbon was not enough to withstand mom beating the piñata. However, fun was had by all, and the weak ribbon made mom look like she has quite the baseball arm!


Upcycled packaging? Free. Having to beat up a birthday cake to get to your presents? Priceless.

Happy Birthday, Mom!

Monday, October 19, 2020

Tomatoes for Tomorrow

Hi lovelies! Just a quick tip of the day for you.

There are some foods and seasonings that just can't be sold in the right portions. Most recipes I see calling for tomato paste ask for 1, maybe 2, tablespoons, yet the super small cans they sell are 6 ounces. This usually results in 5 ounces going moldy in the back of the fridge.

So the tip: portion and freeze, making ready to go portions for future recipes. Start with a small piece of wax or parchment paper, and spoon out individual tablespoons.

Space them out, so they won't run into each other.

Fold the wax paper over and flatten the paste balls.

Continue to add tablespoons, flatten, and fold.

Place the portioned paste into a freezer bag or container, label, and you're done!


Now I just pull out a frozen disc about 10 minutes before cooking the next recipe, and I just saved about 5 cans of wasted paste. Do this for all your condiments and spices that you only need small amounts of, for example, chilies in adobo sauce.

At $.79 for a can of tomato paste and $1.99 for chilies in adobo, this tip can save you about $20/year and lots of yuck in the back of your fridge.

Friday, October 2, 2020

Random Acts of Green

Are you motivated by challenges? Do you want one small easy tip per day to make a difference? 

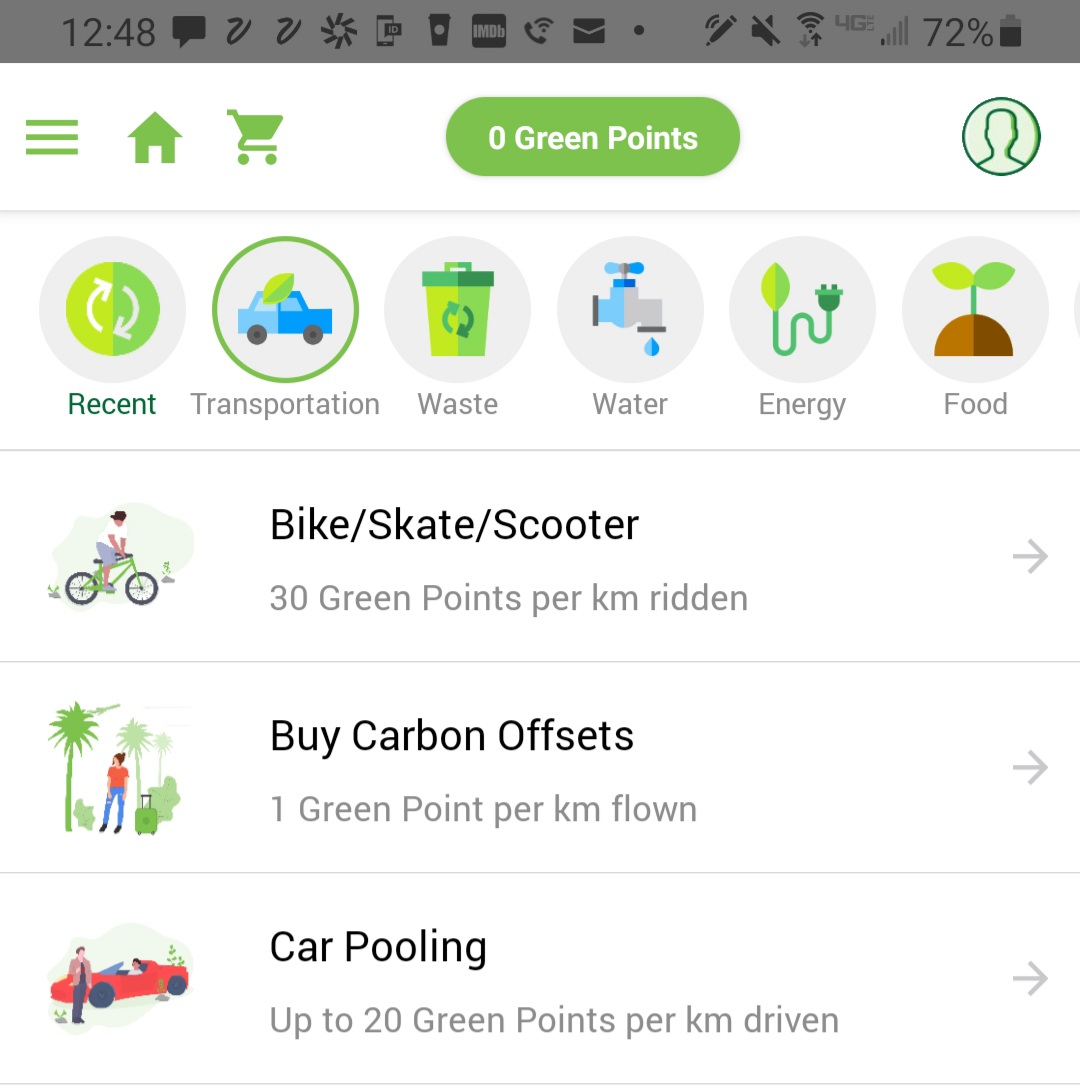
Check out Random Acts of Green. They are a Canadian group inspiring folks through education and easy daily actions.

Their Hallowgreen challenge provides one action per day of October, with a spooky twist, ex: "Bring and item back from the dead. Repair something."

Besides this challenge, you can sign up and recieve points for sustainable activities you participate in.


You can then redeem those points for discounts with their partners on eco products and experiences. 


Competitive? You can invite friends and track your progress on a leaderboard.

Check them out!

Website

Facebook 

Instagram

Google app

Apple app


Saturday, September 26, 2020

September Digest

With all my online thrifting during COVID, I've finally hit my limit for clothes shopping. The closet is full and I'll need to be extra purposeful with my shopping list. Whoops! For the next couple months at least, I'm redirecting my focus to other activities, like packaging reduction, food waste reduction, and DIY reuse projects. Here are a few of the things I've been up to this month: 

1) Reuse/upcyle: I did make an exception about thrifting to finish my Halloween costume prep. I got this pile of red, green, and yellow fabric for $8 at Goodwill. No more hints, though. Toby is guarding the surprise until Halloween. :)


2) Sell for reuse: I was happy to get an appointment to sell my book at Half Price Books. Like many businesses, they are moving to appointment-only to reduce exposure. I got a pile of ancient books and DVDs out of my house, into circulation for the next user, and made $3.25.

3) Refill/reduce packaging: Last January, I wrote about a new service called Loop, which is similar to a milkman service but for health and household products like dish soap and shampoo. They were still in limited cities, but you could sign up for their waiting list. This month, I got notified that they are finally in the Seattle area and I could sign up for early access! So I created my account and browsed around through the site. Things seem a little sparse with some products, especially the national brands, not yet available in the area, but I'm hopeful they will get more selection by the time they are available for general sign-up. On the plus side, they seem to have a house brand Puretto with decent selection on staples, ranging from bath bombs to dry pasta to spices.

4) Share: For a while, I've been amused by videos on YouTube of people creating incredible ball pits for their dogs to play in. I went so far at to look at kiddie pools and balls on Amazon, and then stopped myself. Do I want to spend $40 for what may or may not be fun? Do I want to buy a bunch of new plastic? No and no. Well, Buy Nothing saved the day, when I saw a neighbor post a ball pit!

Here, I'm setting it up for Meeko: 

She is confused and tripping over it. Clearly not used to getting into a pit. Are we trying to give her a bath?? 

Finally gets one ball out and leaves.


After this experience, I can say I had my 15 minutes of fun, and now I will pass the ball pit onto its 3rd owner. I've gotta say, borrowing or sharing is the absolute best for novelty items. You can have your fun and pass it on. 

What have you done this month to reduce your waste?

Thursday, September 10, 2020

Upcycled Hamper Liner

I found this wicker hamper many years ago, and when we moved into our house, we decided it was perfect for towels in our main bathroom. Unfortunately, damp towels do not like it. Did you know wicker can mold? A few sprays of Lysol later, and I determined this hamper needed a liner, stat.

 
Unfortunately, I was lacking confidence buying a liner online, having no idea if this basket was a standard size, and reading negative reviews about them shrinking at first wash. Fortunately, T had a great idea: we have a set of sheets we retired. Why not make a liner? With the old sheets, we would know it wouldn't shrink in the wash either. 

Step 1: measure the circumference and height of the basket.

Steps 2 and 3 (not shown): I cut the sheet about 6" longer in each direction than I need, to leave room for seams, etc. Sew around the bottom and sides, leaving the top as the opening of your bag. Leave a few inches undone towards the top so you can add a pocket for your elastic.

Step 4: Fold over the top couple of inches and sew, leaving a channel for your elastic. I chose to use the top sheet, that already had this built in as the "trim" on the top sheet. Simply cut the side edge off the sheet to expose the channel.

Step 5: Cut your elastic 20% shorter than the perimeter of your liner. This shorter length will be needed for the elastic to stretch over the edge of the basket. Attach a safety pin to one of of the elastic; you will push the safety in through the channel to guide the elastic through. In order to expose both ends of the elastic, the liner fabric will start to gather. This is expected, and gives the gathered/pleated look you would expect from an elastic waistband on pants.

Step 6: Knot or sew the two ends of the elastic together, and then close up the final couple inches of fabric. 

Step 7: Put your new liner in your basket! The sheet color almost blends into the wicker here, but you could choose a contrasting color if you like. 


The average hamper liner on Amazon? $10. This quick sewing project? Approximately 15 minutes.

Thursday, August 27, 2020

Reduce, Reuse, Rent

With my frequent posts about thrifting, I haven't talked recently about how much love rental

Rental lets me try all sorts of new styles without adding to my closet. This has entirely curbed my boredom and impulse shopping, because I know I'll get to try something new in a couple weeks. Likewise, I hope it curbs others from fast fashion. 

How it works is: they sent you a package, you wear the clothes as long as you want, you return them (unwashed!), they wash them and send them out to the next recipient. So instead of me buying a blouse that I'll wear just a few times, and eventually donating it a few years later, and several other women doing the same, we all "share" one blouse. When the item starts showing wear and tear? They donate it to a thrift shop! What if I love the item? I can buy it at a discount.

I'm loving my outfit today. Both the floral ruffled blouse and the floral enamel earrings are rented and were in my box this week.


I paired my rental top half with some pinstripe pants I thrifted from Goodwill last year, and hand-me-down sandals from my aunt and fashion twin. 


Now, while renting reduces the waste from buying new clothes, it isn't waste free. Each package comes in a box, and with a plastic mailer to return the laundry. Fortunately, the boxes are very easy to handle. Try your local Buy Nothing or other local giveaway group. Through mine, I noticed my neighbor expressed interest every time I posted small boxes. Finally, my curiosity got the better of me, I inquired, and it turns out he runs a small Ebay business. Now I have a regular relationship with someone who takes all my rental boxes and bubble mailers. 


Tuesday, August 18, 2020

Planning for Halloween... with Poshmark!

Each year, I start planning for Halloween well ahead of time. If I'm going to thrift and DIY the bulk of the costume, I need some lead time to scour online and in-person thrift stores. This year it's a little harder to get excited about Halloween. I almost positively won't be in the office, and am still unsure if there will be any evening festivities. Finally, I convinced myself it doesn't matter. There are enough video calls for me to still enjoy dressing up, and I can always just spend the day photo-bombing T.

I settled on an idea, and 30 minutes later... success! I placed my first ever order on Poshmark and crossed my fingers. Poshmark is a different model than threadUP. Where threadUP is consignment and they manage the sale and shipping out the items, Poshmark is more of a marketplace or platform where you can sell items directly (the seller manages the sale and the shipment themselves). There's pros and cons to each model. In the marketplace model, more money will go to the seller.

I lucked out, and this first experience was fantastic. The seller even re-used a shipping box!

A sneak peek. This is the only hint you're getting at this time. You'll need to wait for Halloween for the full reveal. The item was in awesome condition - as noted by the seller, she had only worn it once before, possibly for a costume party herself?

A win-win for both of us, I only paid $9 for somethings that retails at $25 new, and the seller recouped some funds from something that was just going to take up space in her closet. And the planet wins, because we get multiple uses out of a novelty item. 

And after Halloween, if I decide I'm done? Poshmark provides me an easy link to relist (Reposh) the item.


What are ways you keep one-time use items moving to new people to enjoy?