Showing posts with label pets. Show all posts

Monday, November 9, 2020

Saving for Scratching

Last year, we got crafty with our toilet paper and paper towel cardboard cores, creating festive holiday ornaments. However, I only needed so many decorations, and there's a endless renewing supply of cardboard cores, so I needed some more ideas. 

Enter my sweet kitty Toby, who at 10 years old, has kitten energy and uses multiple scratching toys. Exhibit A, this cardboard scratcher that goes for $9.99 at PetSmart. 


This type of toy was the right option to use up LOTS of cardboard, so let the DIY games begin!

Step 1: Cut the TP rolls in half. Thinner rolls can be flattened and cut with scissors, while thicker cores can be cut with a utility knife.
 

Step 2: Cut up the side of the roll so you have a strip of cardboard, and roll it up into a tight spiral. I rolled it around a pencil to get the spiral started. (You can use any scrap cardboard. Here I'm using coffee sleeves too!)

Step 3: Choose a box that will act as a frame for your scratching board. I used a flat box that held our groceries from Costco. How appropriate that the coffee addicts in our house brought home a Coffee-mate box. :) Start filling the box with rolls. Some rolls you'll leave uncut, as tubes, while the rest will be curled up inside the uncut rolls. Let your cat inspect at various progress points to make sure you are doing it to his satisfaction.


Tip: if you are using scrap corrugated cardboard, check which direction you are cutting. Cutting against the ridges will give you a pocketed appearance, like the roll on the left. Cutting with the ridges will give you the layered look, like the roll on the right. Feel free to alternate, and see what textures your kitty enjoys digging their nails into.
 
Step 4: Once you have enough tightly-filled tubes to fill the box, use some hot glue to secure the tubes to the base of the box.
 
 
Step 5: Close any remaining gaps with a few little spirals. 
 

Step 6: Salt bae on some catnip. Your kitty deserves the best "seasoning".

Step 7: Observe your kitty enjoying his new toy. It may have saved you $10 at the store, but you invested many hours of love, rolling cardboard, and he can tell!

Is it a scratcher, or a throne?

Definitely a scratcher.

Or maybe a lounging scratcher.


Monday, March 30, 2020

Saving a Scratching Post (Easy DIY Repair)

T and I have quite an active kitty, Toby, who just turned 10 this year. He's having a mid-life crisis renewed burst of kitten playfulness, and is going nuts on anything he can scratch. Fortunately, we have scratching posts in several rooms for him to take his energy out on. Unfortunately, they are starting to get destroyed (and look messy) after a few years of abuse. The good news is it's super easy to clean up with just a pair of scissors and some glue. I chose a hot glue gun. You could also use fabric glue or wood glue.

Exhibit A (Before). There is frayed rope on much of the scratching post and a few ropes that are completely ripped loose. 

First, clean up all the loose shreds of twine. I trimmed some of the shreds on the post too, but didn't go nuts because I didn't want to leave it bald!


Next, add a row of glue onto the bald part of the post and press down one of the loose ropes into place. Because these were completely frayed at the ends, I twist or braid them, and continue to glue down until the end is secured. Repeat for each loosened rope.


Exhibit A (After). Not brand new, but way less straggly than when we started. No loose ends or loose shreds of twine.


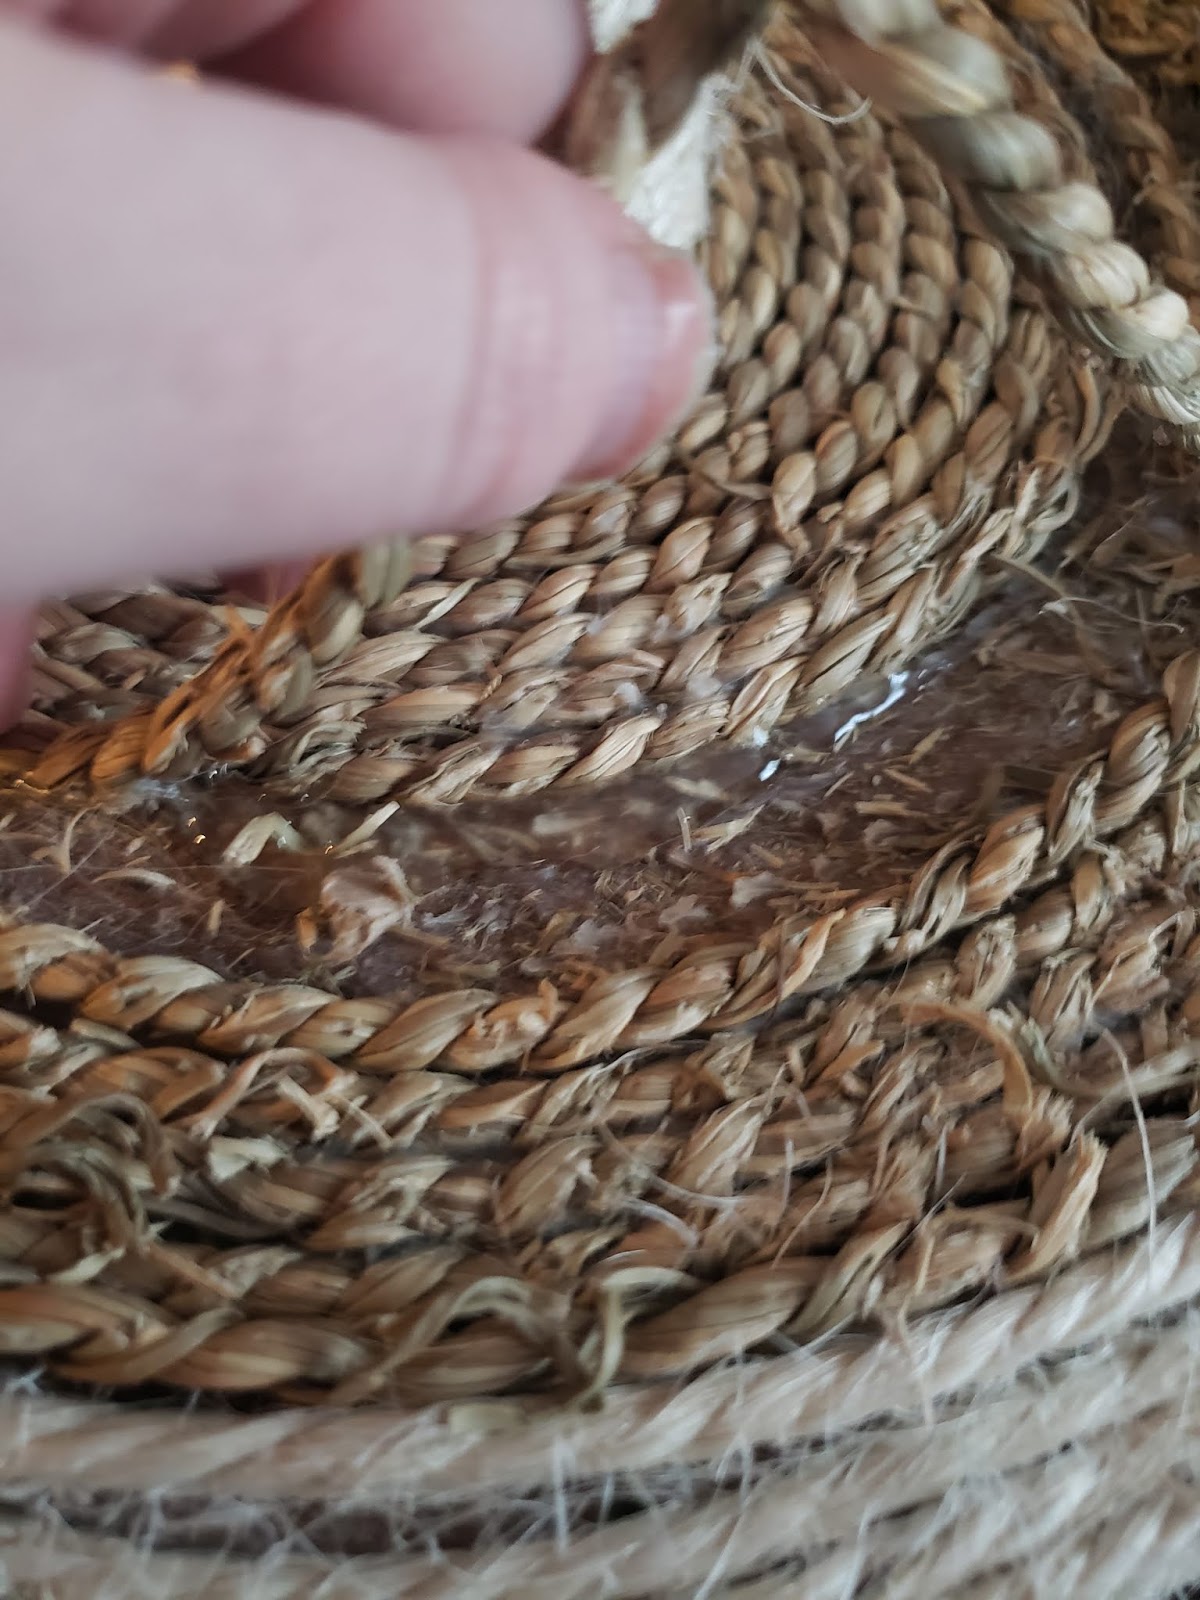
Exhibit B (Before). This post has the twine barely holding on to the batting ball and the base.


First, I squirt a line of glue onto the base, to secure the rope. I go a few inches at a time, one row at a time, re-winding the rope in the spiral that it was originally. I don't want to go too fast, or my glue will dry before I can get the full spiral laid down.


I repeat with the batting ball, gluing and laying down one row at a time, spiraling around the ball form.


Trim a few loose strands of twine, and viola! Just like new. Exhibit B (After).


Just about 10 minutes of time saved me from replacing worn, ratty toys (at about $20 each), and will give Toby many more hours of scratching time.


Wednesday, December 28, 2016

Upcycle: t-shirt rope toy for dogs

I started creating t-shirt rope toys for my dog a couple years ago. For one, as my t-shirts get holey or stained, I only need so many painting or yard work clothes. Second, my Labrador retriever, Meeko, can chew through toys as fast as we can buy them. The good news? Turning t-shirts into rope toys takes just a few minutes and is free!

All you need:
  • an old t-shirt (or 2 or 3 if you want to mix colors)
  • a good pair of scissors

From the bottom hem of the t-shirt, cut strips about 2" wide. You can end up with any number of strips but aim for multiples of 3. For this toy, I cut 9 strips. When you count both the front and back of the t-shirt, this will mean, 18 layers of cotton total.


Line up all the strips on top of each other, and tie one end into a knot.


Divide the strips into 3 sections. In this case, it's 3 strips each. I hold the knot between my knees to hold it still. Then proceed with a simple braid. I keep pulling the braid tight as I go. Since the t-shirt material is stretchy, I want the braid as tight as possible for extra durability.


When you get to the end, tie a knot in the other end.


You're all done! You now have a surprisingly durable toy for your dog to chew on, or for you to play tug-of-war with together. Because it's just strips of t-shirt, it's easily washed.

Savings: about $5.