Showing posts with label mend. Show all posts

Thursday, June 29, 2023

Tailoring a Tank Top

As always, my friend T is my best thrifting buddy, and when shopping a last month, she spotted this cute tank in perfect colors for me, gorgeous late summer/early autumn, moody rusts, mustards, and blues. This top was $15 at Goodwill, compared to $40 new. 

The one problem is the straps are too long. As a short person with a proportionately short torso, an un-altered tank top is a wardrobe malfunction waiting to happen.

So first step is to get out the handy seam ripper. I remove just a few stitches over each strap and a few interior stitches until the strap is fully removed.

If you've never used a seam ripper, and you have any plans to try sewing, mending, or reuse old items for the fabric, it's an absolute game changer. It will help you remove inevitable bad stitches as you are learning, and will help you deconstruct items without losing fabric due to cutting off seams.

 (Note: As an Amazon Associate I earn from qualifying purchases.)

Once you've carefully removed the strap, cut off the length you need to shorten it by. I needed to remove 2" from each. Then insert your shortened strap back into the hole it came out of. 

Now, for small spaghetti straps like these, we could hand-sew them to reattach them, but I used my sewing machine as a quick option. You want to pass over the strap at least twice to lock it in place and re-close the hole we opened.

If you did a decent job of color-matching or coordinating your thread, it will be hardly noticeable. 

Now, wear your altered tank top with confidence. In the summer, I'll pair this with ankle jeans and sandals. In the fall, I'll add a blazer or cardigan and pumps. 

All in all, I'm out about 10 minutes of labor to make sure I have a top that is custom fit for me!

Saturday, November 12, 2022

Kintsugi - The Golden Repair

Kintsugi is a Japanese method of repair, typically for pottery, where you fill chips, cracks, or even rejoin full breaks with gold. Not only does this allow the piece to be in service for years to come, but rather than trying to hide the repair, it is highlighted and celebrated as a part of the history of the piece. Here is an example:

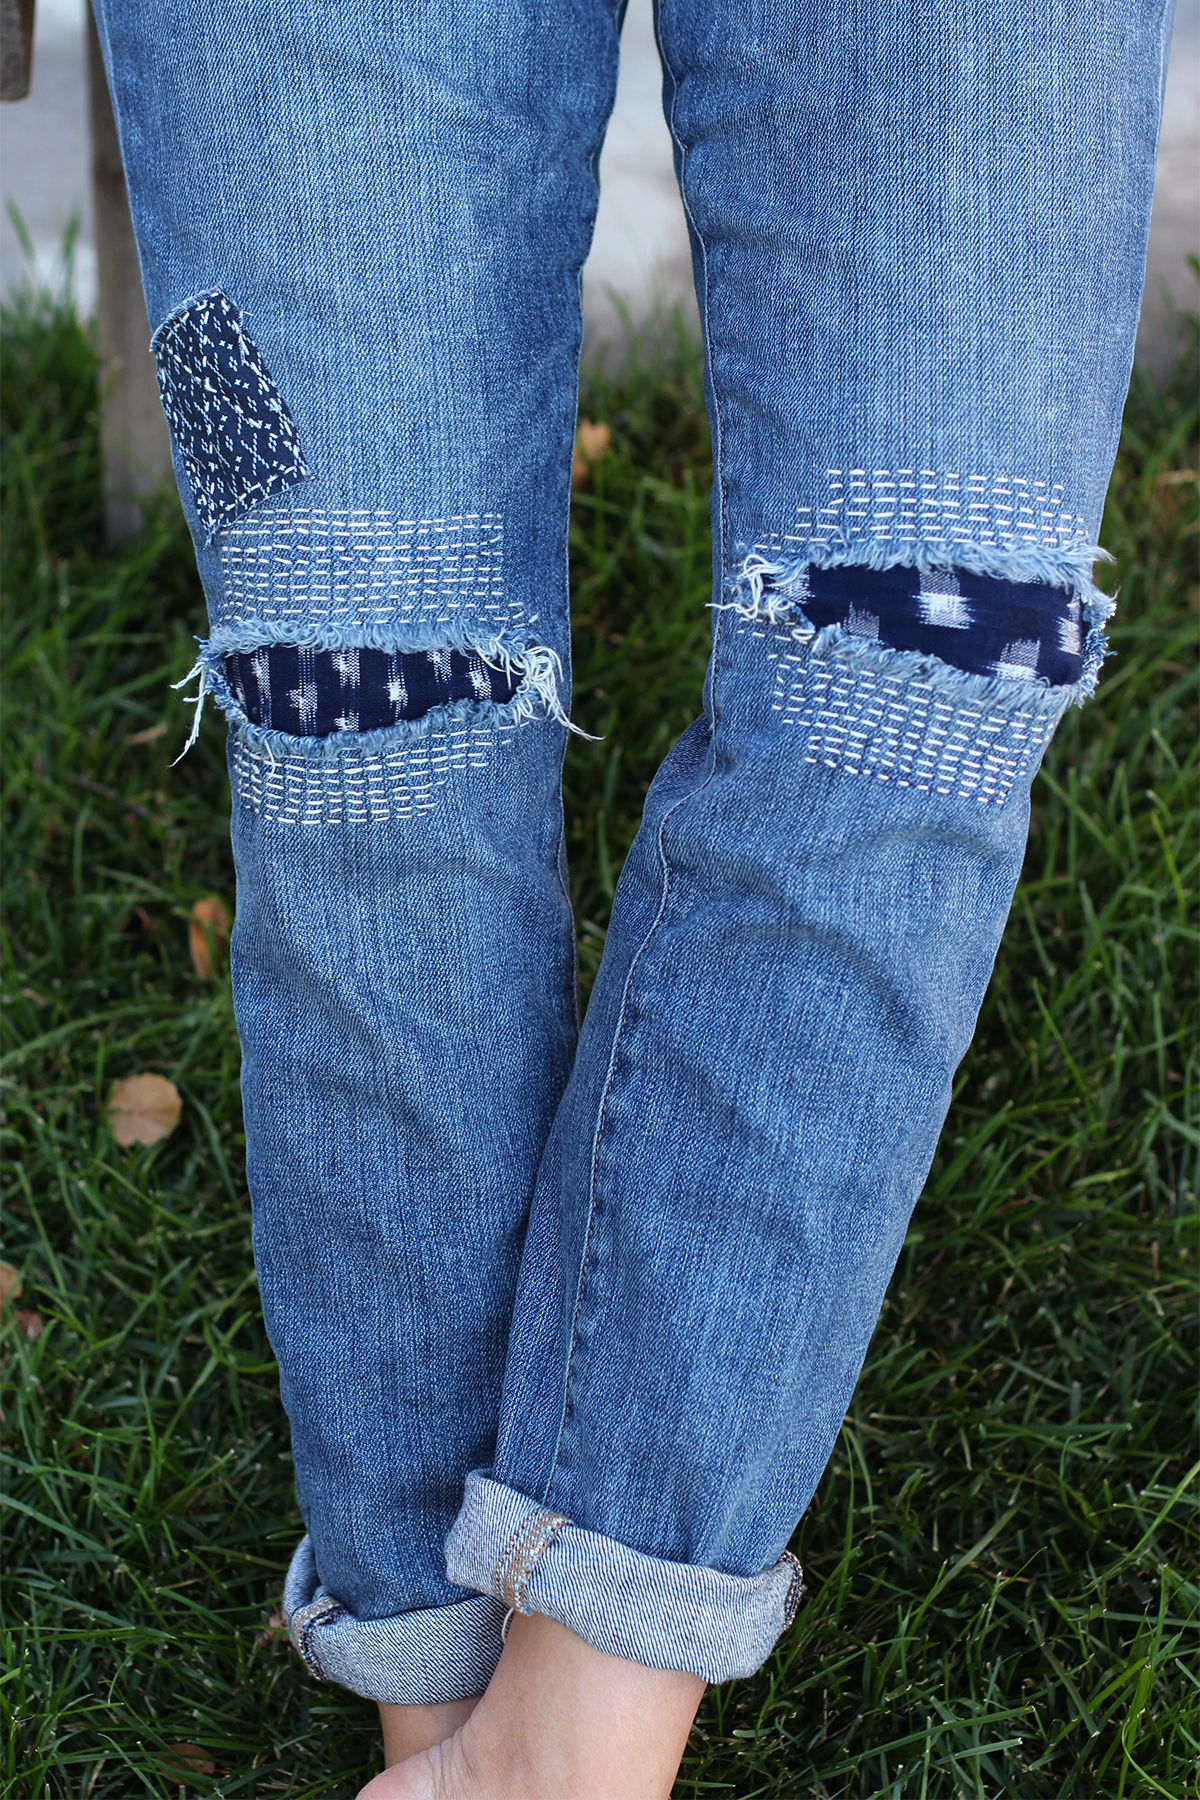
The Japanese have multiple methods of visible mending in their culture; in addition to kintsugi for pottery, they also have sashiko (embroidery) and boro (patching) for textiles. I love this concept to extend the life of my items, while adding character and color. 

Having learned about kintsugi years ago, I was just waiting for an opportunity to try it out myself. Despite my reputation for klutziness, I surprisingly break few dishes! However, I do have a large wooden salad bowl that has a crack through the side of it. It's a fairly small crack that will be easy to experiment with. The offender:

I'm starting with a food-safe silicone. You can choose a product that matches the material you're working with. There are plenty of choices out there, from silicones to epoxies to resins. Just make sure if you're working on dishes that you choose something labeled as food-safe, and that you work in a good space. Most of these products will have an odor and require ventilation. If you're working on something that is just decorative, you could even use a nail polish.

Next, you'll need pigments. I had these leftover from previous craft projects - you should be able to get them where you get your medium. I have a few different shades of gold, so I'm mixing a shade.

I mix the pigments with the silicone, and then apply to the crack with a small paintbrush. This crack goes all the way through the bowl, so I work from both the inside and outside to make sure it's entirely filled. Remove any extra that lands on the surface of the bowl with a clean paper towel.

Here's how the outside now looks:

And the inside:

Now it looks more like a scratch, and when it hits the light right, you can see the gold. The main benefit here is that now I don't need to worry about food or moisture getting inside there and damaging the bowl more, or being hard to get clean.

What are some of your favorite methods for visible mending?


Saturday, February 27, 2021

Refinish Your Furniture

A couple years ago, I got this ugly white filmy stain on my coffee table. Not sure what caused it, perhaps the heat of a pizza box. I turned a blind eye, in fear that I had destroyed the finish and it was going to be a major undertaking to restore it to its original glory. My mind spiraled with visions of chemical stripper and sandpaper, and stains and varnish, doing a ton of work just to end up with a top that didn't perfectly match the rest of the table. You can't tell the size from this cropped photo, but the stained area was approximately 6" x 10".

Finally ready to face the daunting task, I start Googling my options, and was presented with shockingly easy solutions, none of which involved removing and redoing the finish.

Option 1: Rub it mayonnaise.

Option 2: Rub it with equal parts oil and vinegar (so mayonnaise). 

Option 3: Rub a hot iron on steam setting over it. 

The iron option seemed a little more advanced and scary, so mayo it was. The worst that could happen would be I'd need to wash it off, and I'd be out less than 10 cents.

So I gathered a soft white rag and a bottle of mayo. I squirted about a tablespoon of mayo onto the rag, and rubbed into the wood, with the grain. 

The results were *immediate*. Within 10 seconds, the white film was completely gone, and the excess mayo wiped clean with a dry part of the rag. Use a little lemon furniture polish as a next step to remove any last mayo smell.

Lesson learned: don't be intimidated to try and do minor restoration of your furniture. These tiny touch-ups will prolong the life and look of my furniture for years, costs almost no $$ and time, and takes no harsh chemicals.

Are you ready to upgrade your furniture for free?

Sunday, November 17, 2019

Mend Around Mildew

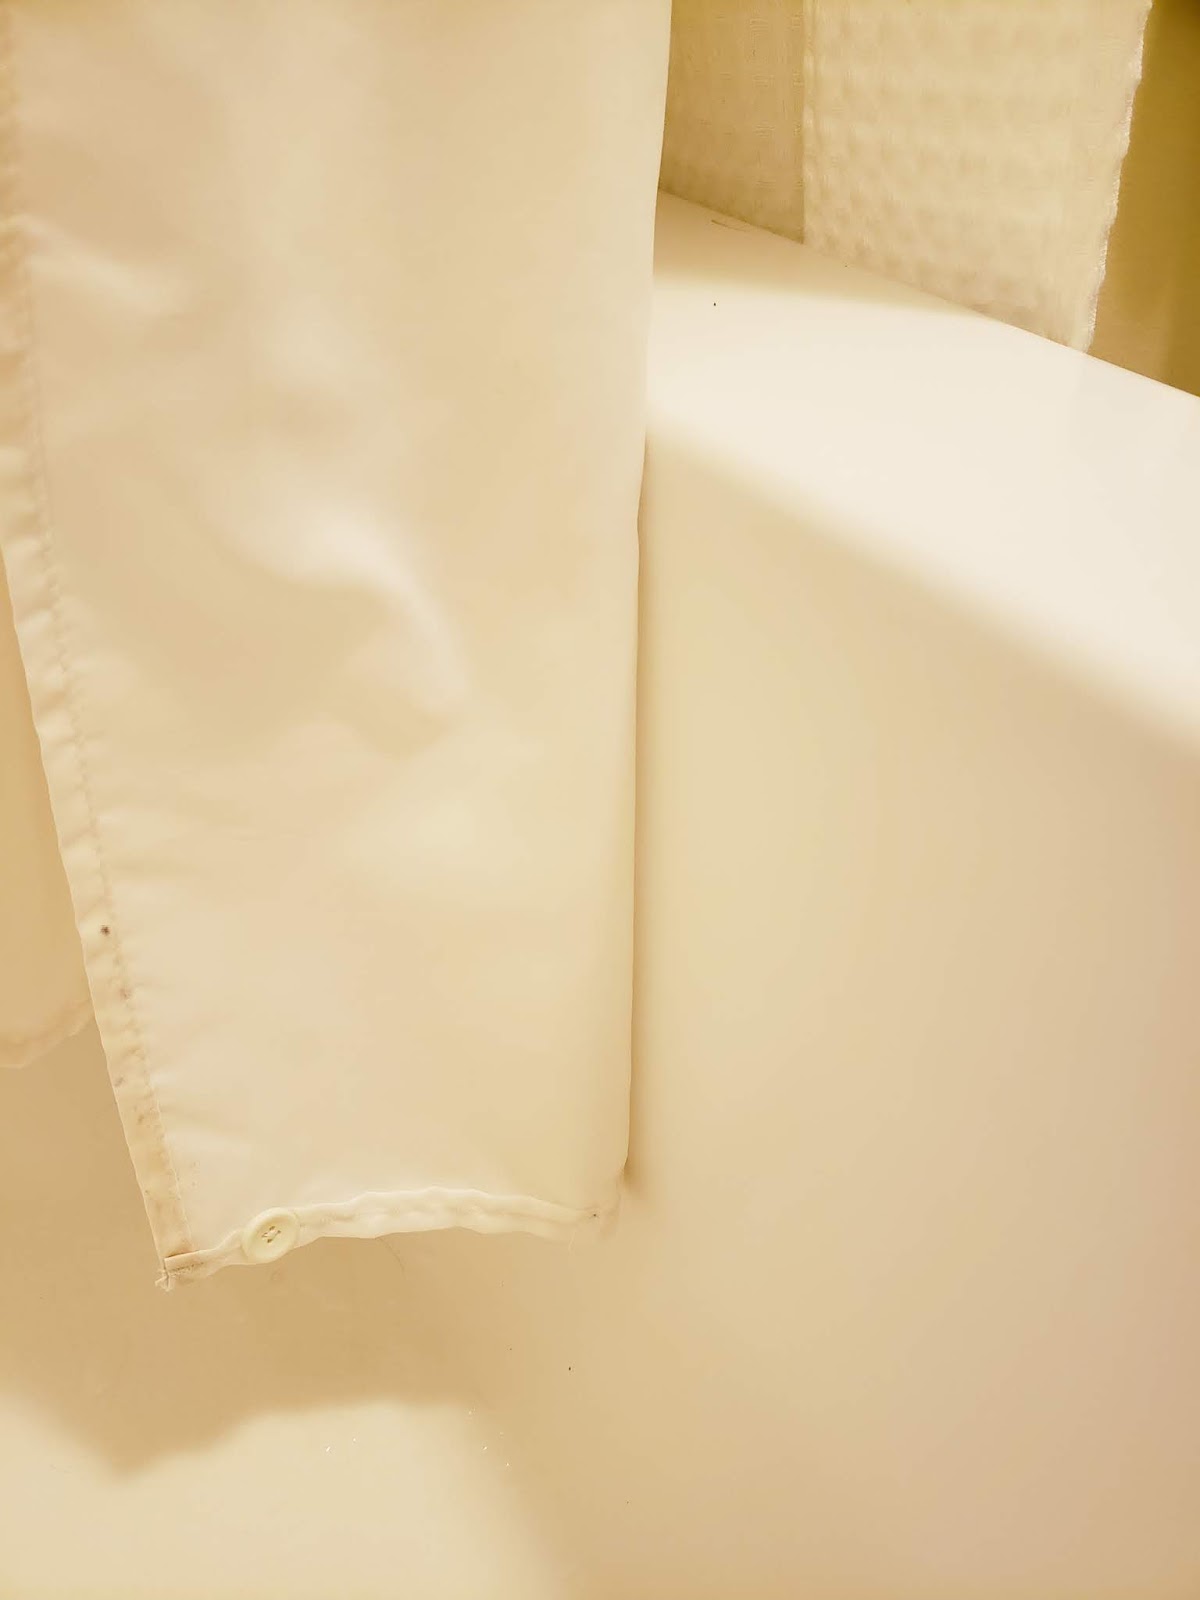
I have a fabric shower curtain liner that I love, because you can easily throw it in the wash. Inevitably, however, mildew and pink minerals stain the curtain, especially at the bottom hem.

My gut reaction is "Ew! Throw it away!" But if you have a sewing machine, you can quickly hem the shower curtain even faster than going to the store for a new one.

First, cut off that moldy hem (yuck!). The thick plastic strip inside that weights the bottom of the curtain is also stained, so I'm not trying to save that.


Next, fold the cut bottom of the curtain up about 1/2" (the width of the foot on your sewing machine) and sew the length of curtain. Fold again, and sew again, to hide the raw edge where you cut. This is the easiest hem, with just a long, straight line to sew.


Since we threw away the weighted strip from the bottom, we can optionally add weight by sewing buttons periodically across our new hem. I have tons of these collected from the "spares" that are sometimes included with sweaters.


My new hem only raised the bottom of the liner about 2", so it still falls below the edge of the tub by several inches. I could repeat this process a few more times before shortening the liner too much, giving me years more life out of it.


About 10 minutes of work saved me $10 on a new shower curtain liner. I like that hourly rate!

Sunday, July 30, 2017

A Little Weekend Sewing

Being a curvy woman, my pants always wear out in the thighs only, and the rest of the pants are still in great shape. It's super annoying to have to buy new jeans every few months after a little wear and tear.


After 4 pairs of pants piled up of my recycle or mend pile, I finally decided to give it shot. First step, acquire iron-on patches. You can find these fairly easily at craft or department stores. I got a multi-pack at Target: with 8 patches of varying colors of denim and khaki that can be cut to size, it's only pennies per patch.

Trim the patch to cover the holes, and iron on. Follow the directions on the package: mine was high-heat, no steam.


You could stop there, but iron-on stick tends to wear off after a couple washes. We can easily reinforce the patch by sewing back on forth over the edges.


Minimally noticeable from the outside - at least, less noticeable than skin showing through. ;)


Now, if it was for somewhere less scandalous, like the knees, you could try visible mending. There are several styles including the Japanese embroidery "sashiko" and patchwork "boro". Examples:

(Image from womanwithwingsblog.blogspot.com)

(Image from honestlywtf.com)

After an hour of work, I repaired 4 pairs of pants. Here's hoping I can now double the life of the pants, saving my self potentially $100s per year.