Showing posts with label bath and body. Show all posts

Monday, February 22, 2021

Sustainable Suites

T and I finally made a trip to Spokane after more than a year. Typically we'd go a few times a year to visit his mom, but alas, COVID. His mom finally got her first vaccine, so we headed for a visit and to do some honey-dos. 

To reduce our time together, we opted for a hotel, which is how we ended up at the Downtown Spokane Oxford Suites, a great mid-level hotel on the riverfront. They seemed to have a bicycle theme throughout the hotel, quite appropriate given the location. In the lobby, they incorporated upcycled wheels and tires into their bike-themed decor. Why, hello, Spokane!

 And here, multiple wheels create an abstract pattern above the lobby check-in desk.

Do these give you ideas for reusing and materials for home decor? Ranging from modern to shabby chic, it gets the imagination going for how you could make some interesting DIY art on any theme.

Beyond the lobby art, there were some sustainable features in the room itself. LED bulbs in all the lamps: 

These ecosmart bulbs are 9W LEDs with a 60W equivalent brightness.

Moving into the bathroom, they replaced the mini toiletries with full-sized toiletries, saving on both packaging and product waste:

Now they didn't brag about these amenities or sustainability features on their website; however, they did call out that they have electric car charging (including Tesla) available. Until these features become mainstream, you may need to make a quick call to the hotel or read some reviews to seek out hotels making these smarter choices. 

Large hotel groups are already starting to make the change, including the likes of Marriott, Holiday Inn, and Crowne Plaza. Per Marriott, a global change across their portfolio will "prevent about 500 million tiny bottles annually from going to landfills; that’s about 1.7 million pounds of plastic, a 30 percent annual reduction from current amenity plastic usage."

What can you do? Choose hotels that are committing to these changes, and if you are faced with a hotel that hasn't made the switch, politely leave a comment at guest services. 


Sunday, November 22, 2020

Concentrated Conditioner

Previously, I wrote about how concentrates are an eco-friendly way to move product. With all the water removed, you save lot of weight and space, and therefore need way less trips to ship more product.

I've been struggling to want to change my hair conditioner though. I have dry hair and love to use several pumps of rich, creamy lotion-like product. So while several of my low-waste social groups tout the benefits of bar-form hair products, I was hesitant to make the switch. 

Last year, I learned about a company, HiBar, that was getting rave reviews and decided to give it a try.


The packaging is plastic-free, and it has a pleasant, light citrusy fragrance, but I'm skeptical this small bar is worth $14. 


When I tried it, I was struggling to figure out how to really use it. Can I get a lather on my hands like with bar soap? Do I rub it on my head? I tried both, and ultimately just didn't get as much product off the bar as I wanted. Though the product that did come off was great: rich oils and left my hair feeling smooth. So how can I get the experience I'm missing from a cream conditioner? I posed my question by my social groups, and the answer came back unanimous: it's easy to reconstitute it!

(And did you know? You can do this for any of your solid bath and body bars. Prefer body wash or liquid hand soap? Reconstitute your bar of soap!)
 
Step 1: Grate the bar with the large holes on a cheese grater. This was surprisingly easy, with the bar shredding easier than a medium cheddar.

You're left with a sizable pile of shavings.

Step 2: Pour the shavings into a large bottle. HiBar says this conditioner is as good as at least 16 ounces of regular conditioner, so I'm going for a 16+ ounce bottle. My last bottle of drugstore conditioner will do: it's 28 ounces and has an awesome pump. You want to pour the shavings in, not the finished product, because it will be that thick and creamy.

Step 3: Pour in hot water. It doesn't need to be boiling, but as hot as your tap will go. I'm starting with 16 ounces to see if HiBar delivers on its promise, but ultimately end up filling the entire 28 ounce bottle.

Step 4: Close up the bottle, give it a shake, and let it it sit for about 10 minutes. The hot water will do its job to melt down the shavings and reconstitute into a lotion. Then, compare it to your drugstore conditioner. The first picture of the yellow conditioner is my old L'Oreal conditioner, whose creaminess I wanted to match.

This second picture of blue conditioner is the HiBar. Creaminess achieved! And we exceeded HiBar's estimation that we would get 16 ounces of value - we got 28!

So now to discuss pricing. I only pay $7 for the L'Oreal conditioner. Even though I got more than expected from HiBar, is it worth the $14? It's really a false comparison to go on volume alone. HiBar boasts: "No sulfates, parabens, silicone, phthalates, and no cruelty." Compare to brands with similiar qualities, like Pacifica (8 oz conditioner for $10) or Aveda (8.5 oz conditioner for $19), and you get substantial cost savings.

Overall, I'm happy that I found a solution to conditioner that's easy on the planet, and luscious for my hair.

Wednesday, March 18, 2020

Earth-Friendly Ears

Whether you call them cotton swabs, cotton buds, or Q-Tips, you likely have a few uses for these sticks around your bathroom. For me, it's drying my ears or removing the last traces of eye makeup after a shower.


After seeing this devastating image of seahorse dragging around a Q-tip floating around the web, I wanted to prioritize swapping these out.


They may also be the next item to gain attention from governments, after grocery bags and plastic straws. Scotland has already banned plastic cotton buds, while the EU is looking at single use plastics in general.

Plastic, you say? Check your medicine cabinet and see if yours have a cardboard or plastic stem. If they aren't paper-based, that's the first easiest upgrade.

The next-level upgrade is to look at reusable options: for ear-cleaning they make them in durable plastic, metal, and wood. All are washable. I tested a couple out and wanted to share my results.

I first tried these Utility Tip ear cleaners, professing to be "ultra soft", because I was not sold on putting plastic into my ear instead of soft cotton. I was right to be nervous. After a few tries, I couldn't handle these, which felt like they were scraping me. However, I had a couple friends swearing by similar products, so I decided to give another brand a try.


Next up was ClĂ­nere. These are a bit better. Not only was the fin side substantially softer than the Utility Tip ones, but it also has a scoop side for if you have a wax issue. They still don't give me the same super dry satisfaction of cotton, but reduce post-shower water by about 80%.


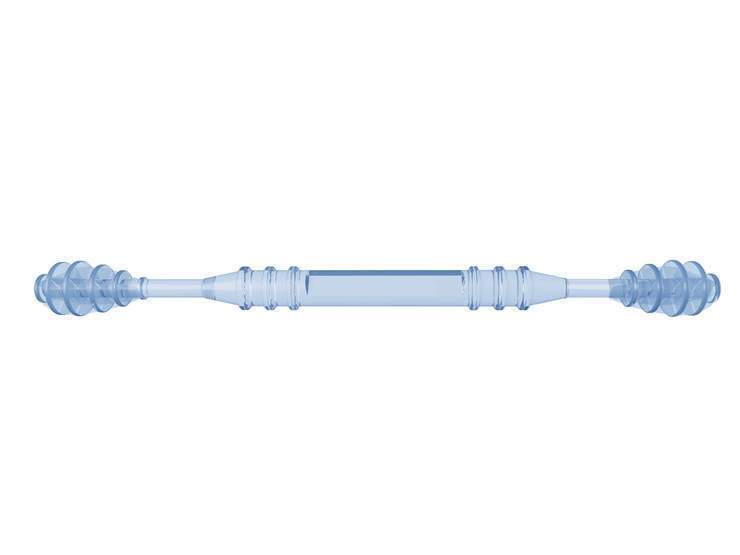
Finally, I tried Last Swab. I first learned about them through their Kickstarter, and decided they would be my last ditch effort to finding a really comfortable reusable swab. Instead of plastic, they are made from silicone, and have a couple different designs: a regular round tip with bumps for giving your ears a good scrub, and a smooth pointed tip for makeup use. These were by far the most comfortable for ear use. It would be a fantastic tool for earwax removal and a decent tool for water removal. For makeup use... because it's smooth and not absorbent, it does nothing for makeup removal. I imagine it would be a great choice for blending makeup.


Having decided that none of these gave me the super dry feeling of cotton, I tried one last thing: an old t-shirt. I've been using cut up t-shirts for a few other applications: as hankies, as makeup remover pads, so I have plenty around. Simply wrap it around a finger and go for it. Viola! Not only did my ears get nice and dry, but it's probably the only doctor-approved method listed here. The used t-shirt squares are collected in a mesh lingerie bag, and then washed with my regular laundry.

In summary, after lots of experimenting, I will likely use t-shirts for ear drying and makeup removal, and Last Swab for wax removal.

T-shirts: FREE
Last Swab: $12, pay back after 4 boxes or 2000 Q-Tips

Q-Tips with cardboard stem: $3.29 for 500 at Target
Generic swabs with cardboard stem: $1.99 for 500 at Target
Generic swabs with plastic stem: $1.99 for 300 at Walgreens

(You can break even or even save $$ with the switch to cardboard!)


Saturday, March 14, 2020

Flax FAIL

Friends, it's been a crazy month with everything going on in the world, but I'm back. I try to only post good recommendations here, that are tried and true, but my friend Tatiana pointed out, you can learn just as much from my fails. Not all products or projects will be successful, and you can either bypass my mistakes, or avoid it altogether. So, here's one *not* to try. :)

For those with curly hair, you are probably well aware of the challenges: one side may dry curlier than the other, we're prone to frizziness, there are 8000 rules about how to not damage the curl (you should wash in cold water, sleep on a silk pillow case, never use a regular towel, only microfiber)...

On a good day this is how my curls dry naturally with no product. I have a bit of frizz, and would like more definition. On a less good day, well... there's a reason I revert to straightening my hair vs leaving it to chance.


Now that I'm working from home for the foreseeable future (thank you zombie apocalypse), I have a lot of flexibility for experimenting with my hair. I've been intrigued to try this DIY hair gel recipe, that's touted as both a miracle for curly and kinky hair as well as low waste. It's made with just water and nutrient-rich flax seeds, full of fiber, proteins, and Omega-3.

There are dozens of how-to videos and blogs online showing soft defined curls, a nice thick hair gel, and an incredibly simple process, so I'm excited to get started. I mean just look at this one:


I jump right into step 1: boil 1/4 cup flax seeds with 2 cups of water, on medium for about 10 minutes.


Each of the various videos have different cooking times resulting in different thickness of gel, so cook down to your preference.

Next, cool the mixture. Then strain though a knee-high stocking, or a mesh strainer. The seeds will be strained out, leaving a translucent gel.


Wait, what? I'm left with an oatmeal-y sludge! No viscosity after cooling, just grainy, soupy sludge!

I think I figured out the problem, yet none of the recipes clearly call it out: you need to use WHOLE flax seeds, and I used ground.

30 minutes lost but not wasted. I've learned one way to *not* make hair gel! If you end up trying a home hair gel recipe, let me know what works for you.