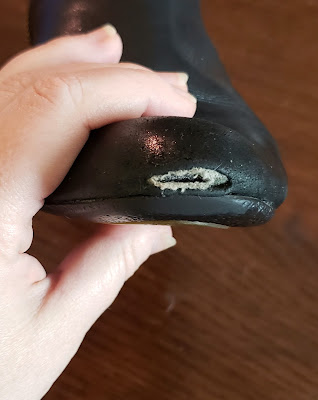
Do you have that pair of shoes you love, but are starting to have some wear and tear, and you just want to get a few more months out of them? Shoe Goo comes to the rescue for some easy at-home repair.
I love these black ankle boots so much I've already had the heels professionally repaired once. Now, after several more months of wear, the toe has split open, both letting in rain as wear as exposing ugly white lining.
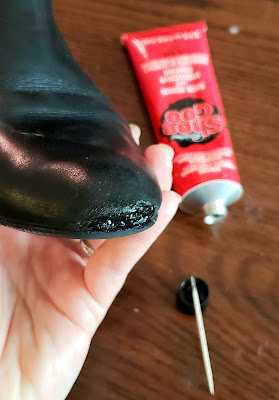
Enter Shoe Goo. Shoe Goo is a rubber-like adhesive and sealant that comes in clear, black, and "natural" (a subtle beige like the base of some sneakers). This black was perfect for my boots and for non-exposed areas of any other shoes.
To apply, put a small (maybe pea sized) amount directly on the area to be repaired and smooth with a toothpick or small putty knife or palette knife.
A note of warning: this has a strong odor like many adhesives, so you'll want to apply it and let it dry in a well-ventilated area.
Allow to dry for 24 hours and add a second coat if desired. The above picture shows the wet state - it dries less shiny.
Unless you are extremely skilled, the shoe will never look brand new. However, this repair is much more subtle than an exposed toe, and will keep me going until I can shop for that next pair of comfy booties. I've also used this for compeletely hidden areas, for example, reattaching the tread on my hiking shoes.
A tube this size (3.7 oz) will cost you around $7, and because you only need a tiny amount per application, will serve you for a long time. After 2 repairs, I still have 99% of the tube left. This $7 purchase should return its investment many times over in extend life of your footwear.


No comments:
Post a Comment